


But, as much as I love buttons, I have to admit they can be expensive to purchase. For me, it’s a lot cheaper to buy buttons that are pre-packed from the craft stores. The only downfall is that you never know what you’ll get inside the package. There may be a few flawless buttons, but then there’s a handful of defective, chipped, or broken buttons. Also, you may find a pack of buttons that you love and, two weeks later when you return for more, they are no longer in stock.
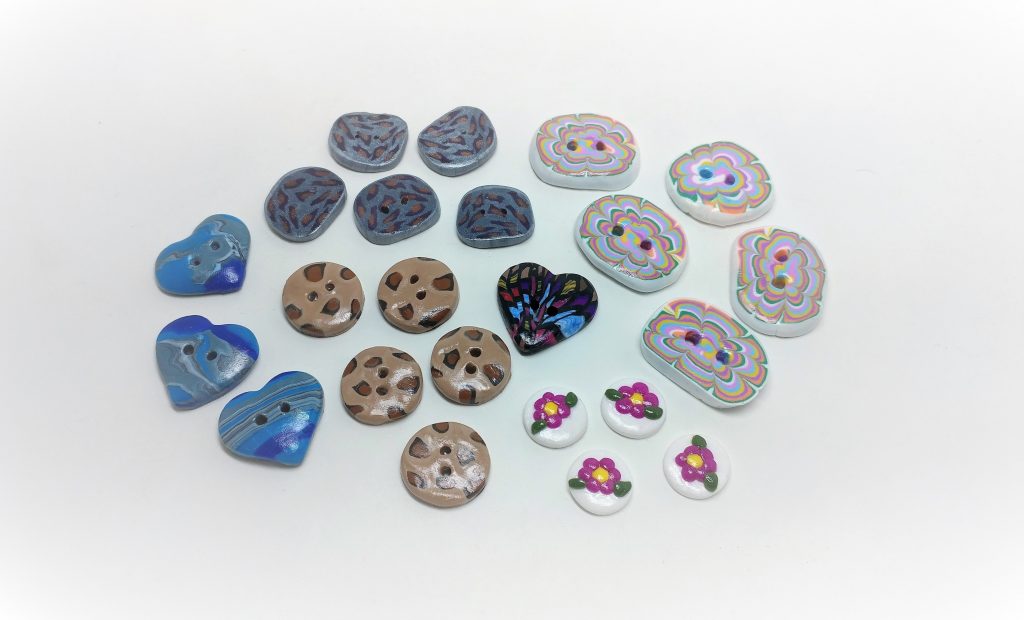
Last year, I decided that I could make my own buttons…in any way that I wanted! I purchased polymer clay bars of my favorite colors and created designs that reminded me of things that I loved the most, such as hearts, flowers, and animals. Here are some of the designs that I made:
As I practiced making buttons, I started thinking of a way to make a structure that could “showcase” the different colors, designs, and shapes of my handmade buttons. I just grab some of my collected buttons from my mason jar and aluminum wires in two different sizes to create “branches.” I cut 12 pieces of the thicker wire 12 inches in length and 22 pieces of the thinner wires in shorter lengths. I started to twist the wires so that they would gather in the middle and then forms several branches.
Before attaching the buttons to the branches, I arranged my buttons in sequence and laid them out so that no similar colors would be near each other. It was really fun arranging them! I found myself changing positions of the buttons, moving them from one location to another until I was happy with the color formation!
The last step was to use air dry clay and to form it into a round base which would hold the tree in place. You can form the base in any shape, but just make sure to balance the tree stem to stand straight. I waited for the clay to dry for 24 hours and the project was complete!
Here is how it looks:

This is definitely a project that I plan to continue making with new buttons. With handmade buttons, no tree will ever be the same!


